15 Expert Car Detailing Tips Revealed
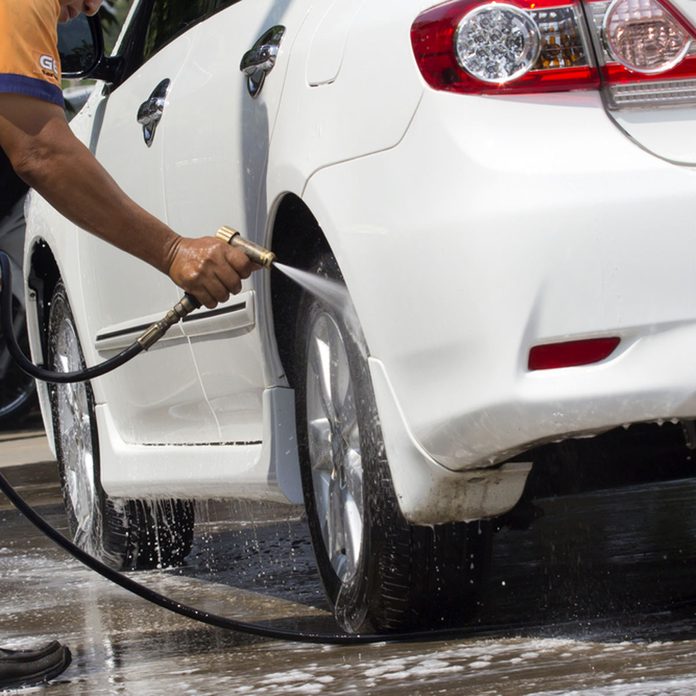
Clean Water Rinsing Prior to Cleansing
If you apply soapy water to your dry paint, you'll simply embed the surface dust and road debris into the paintwork. Professional detailers Always begin with a thorough rinse of clean water to eliminate as much dust and debris as you can.
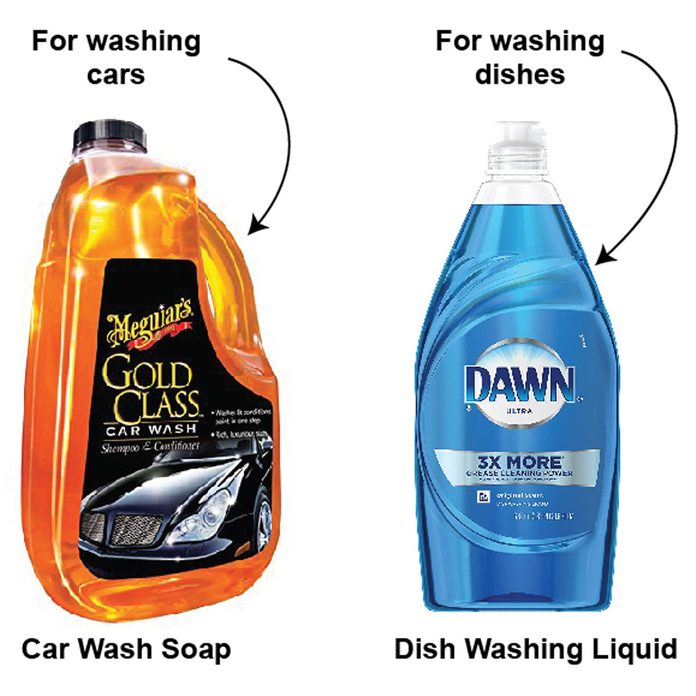
Use the Right Soap
The preferred option for many do-it-yourself enthusiasts is dish soap. However, this isn’t ideal. Dishwashing detergent It is excessively rough. It removes crucial oils from your vehicle's exterior and can even reduce the lifespan of your paint. A professional car detailer would opt for car wash soap instead. car detailing , like Meguiar's Gold Class Car Wash Wondering if perhaps you're using the incorrect one? cleaning products inside your home?
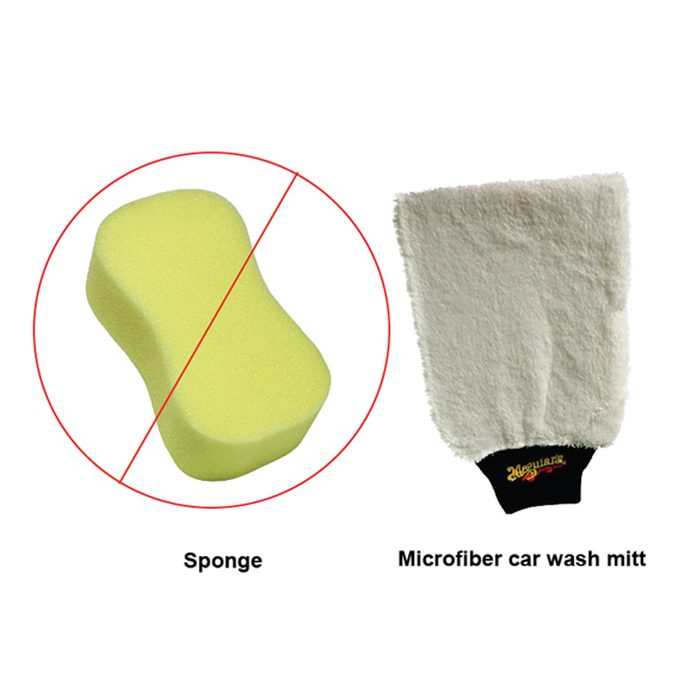
Ditch the Sponge, Opt for a Microfiber Mitt
Sponges trap and retain dirt and debris within their extensive pores. Although you can squeeze them, the grime remains intact. When particles get lodged inside, they essentially remain there permanently. wash your car Using sandpaper. A vehicle detailing professional will utilize this technique. microfiber car wash mitt since the grit separates out during rinsing.

Use Two Buckets
Use one bucket For the first bucket, use clean soapy water and for the second, fill it with plain rinse water. Each time you finish wiping down an area, submerge your grimy washing mitt into the rinse water container and swish it around to remove the grime and debris. Next, dip it back into the soapy water and continue cleaning from where you stopped. Before proceeding to work on the opposite side of the vehicle, empty out the used rinse water and replace it with fresh water. This will ensure that your soapy solution remains uncontaminated.
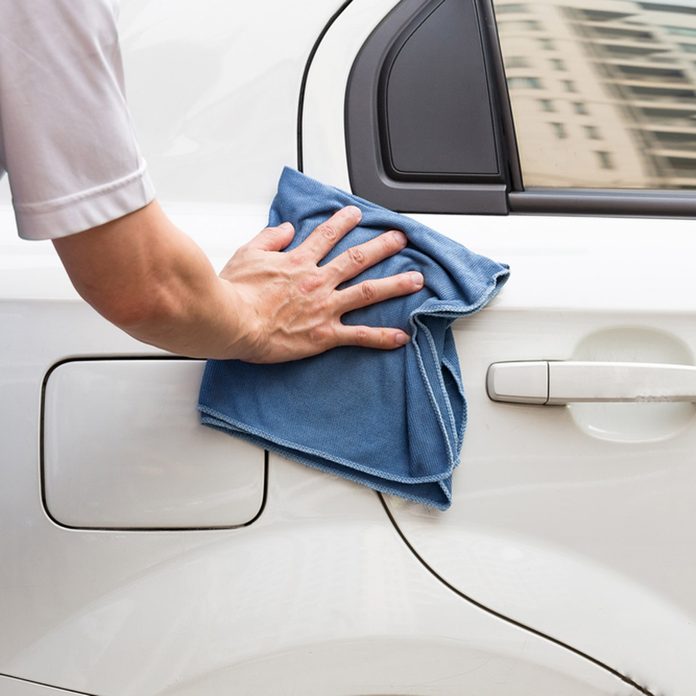
Skip the Chamois, Use a Microfiber Towel for Drying
Sponges can absorb water, yet they won’t collect any residue leftover from rinsing. Rather, they tend to embed those tiny particles right into your paint surface. microfiber towel On the contrary, gathers the particles. Use the microfiber Soak the towel in clean water to eliminate the grit. Afterward, squeeze out the excess water and continue with the drying process.

Remove Minor Scratches Before Polishing
This stage distinguishes amateur car detailers from professionals. While polishing enhances glossiness, it won’t eliminate scratches. Nonetheless, if you address the scratches initially with a scratch removal kit and then polish, you'll get even more shine. Find scratch removal kits at any auto parts store.

Buy a Dual-Action Polisher
A car detailer would never be seen without their dual-action polisher Don’t mistake this amazing tool for a high-speed buffer! Buffers operate at significantly faster speeds and could actually strip the paint from your vehicle if you keep them in one spot or apply too much pressure. Polishers, however, work at slower speeds and move back and forth as they spin. It takes only a matter of minutes for even a novice DIY enthusiast to master polishing techniques. before waxing can make a significant impact, hence your expenditure truly yields returns.
Another finishing technique recommended by experienced detailers involves applying the polish directly onto the buffer’s pad rather than the car surface. This method helps ensure that when you activate the tool, none of the polish will fly off the pad unexpectedly.
Use Synthetic Wax
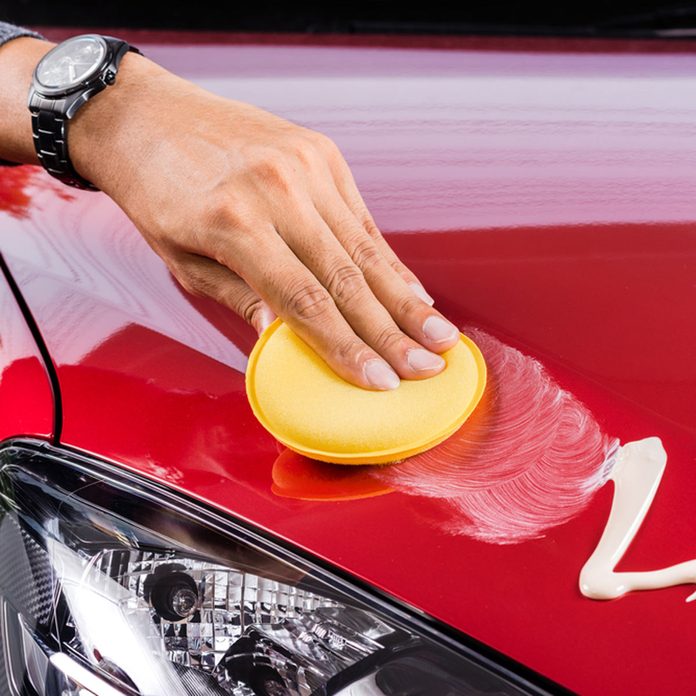
Old style paste waxes look great on antique cars. But they don't produce the same "wet look" as modern synthetic wax , and they don't last as long. When car dealers sell paint sealant, they're really just applying a high-quality synthetic wax, which is something you can do yourself for a fraction of the price. Apply synthetic wax in small sections using a wax applicator sponge.

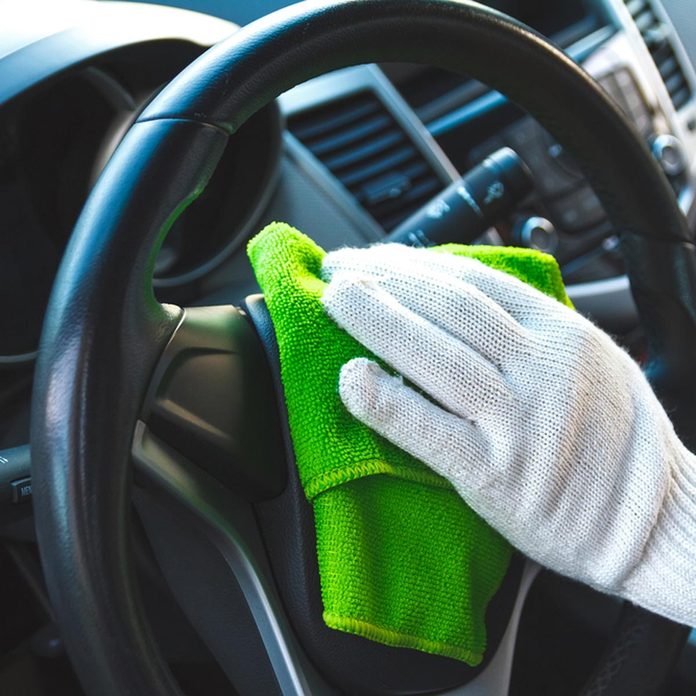
Eliminate Wax Haze Using a Microfiber Cloth
You guessed it, microfiber towels They are the idols of detailing enthusiasts across the globe. Remove the wax residue by moving the cloth in circles. When the towel becomes saturated with wax, fold it to access a clean area. Switch to a new towel once the current one is completely filled with wax.
Start at the Top
DIYers usually start by cleaning the carpet That simply displaces dust from the dashboard, seats, and door panels back onto your newly cleaned carpet. Expert detailers begin at the highest point and progress downward to the carpet.

Keep Going While Embracing It
Use a small detailer's brush And use a shop vacuum to eliminate dust and debris from every crevice in your dashboard and center console. This is an essential tool for professionals working in this field. professional car detailing . Hold the shop vacuum Pass the wand close to your brush to absorb all the debris as you make your way down to the floor.
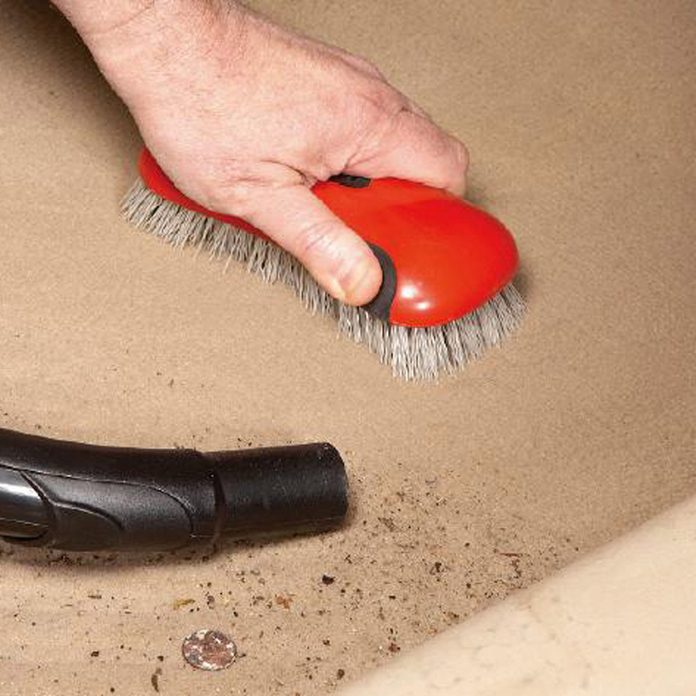
Sweep and Vacuüm Your Carpet
Automotive carpet does not readily release dirt. Simply vacuuming will likely leave much of it untouched. For better cleaning, detailers employ a firm-bristled brush combined with vacuuming to agitate and lift out the debris from deep within. This process causes the soil particles to rise to the top where they can be effectively extracted using a powerful shop vac.
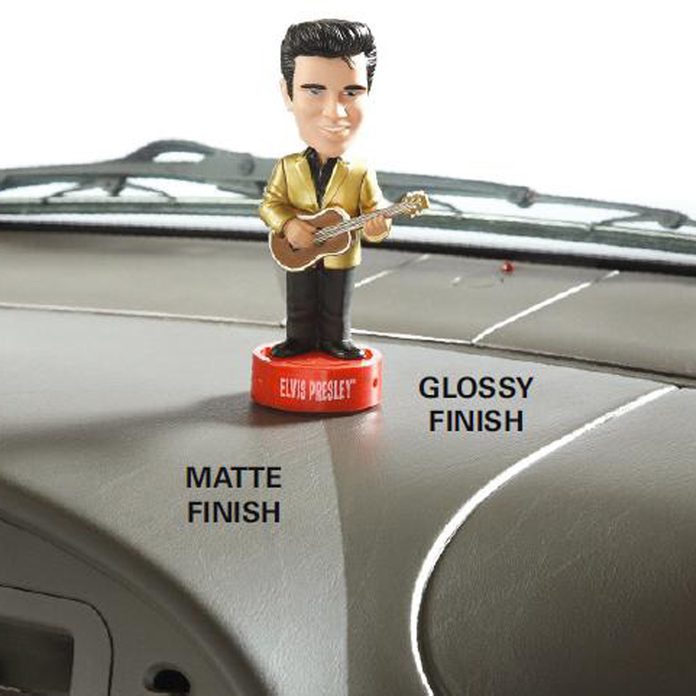
Utilize a Non-Silicone Matt Finish Dashboard and Vinyl Protector
Silicone-based dashboard protectants create a slippery coating that tends to attract additional dust, requiring more frequent cleaning. Additionally, a glossy dash surface may reflect light onto your windshield. This reflected glare can impair visibility, particularly during nighttime driving. For these reasons, professionals opt not to use them. non-silicone matte finish protectants They continue to appear fantastic and they lessen glare.

Lubricate Door Seals
When cleaning the door, you likely removed any lubricants from the door seals. Detailing professionals ensure they reapply these lubricants to the seals afterward. silicone spray Spray it onto a cloth and apply evenly across the complete door seal. This silicone application stops the seal from adhering during both summer and winter months.
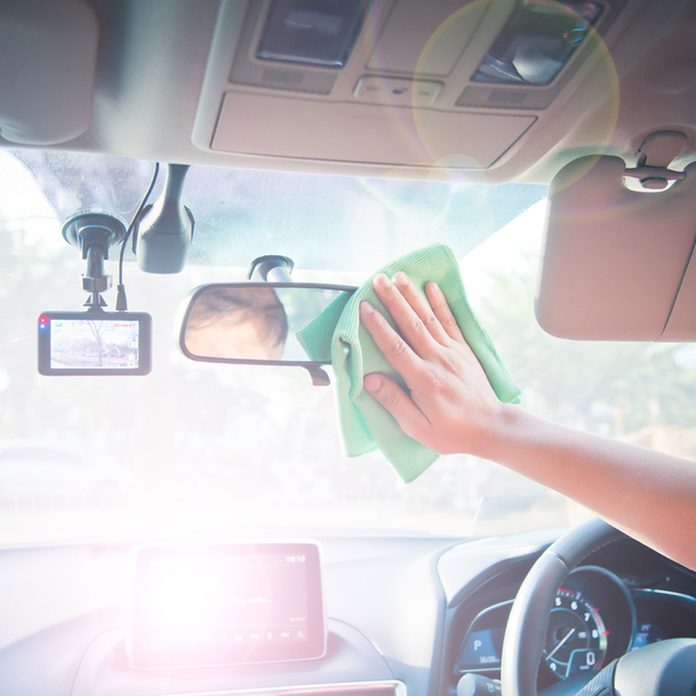
Finish With the Glass
If you had cleaned the interior surfaces of your windows prior to cleaning the dashboard and applying vinyl protectant, you'd find yourself needing to do it over again. This is why professionals leave window washing for last. By cleaning the windows at the conclusion, you eliminate any residue from previous steps and achieve perfectly clear glass.


Comments
Post a Comment